Name and logo
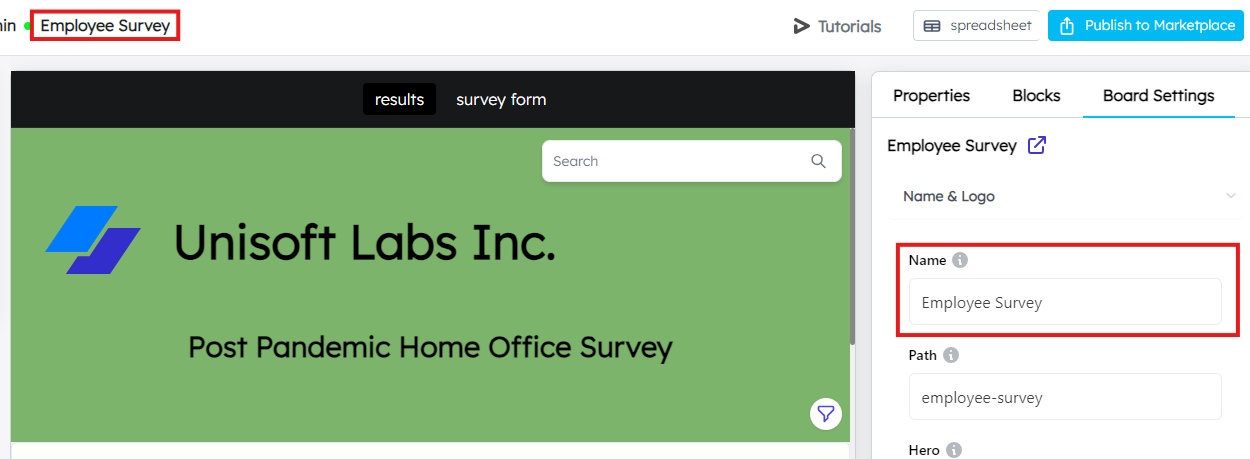
Name
Enter the name of your board. This is the display name that users will see in the marketplace or dashboard list. Make sure it’s clear and descriptive.
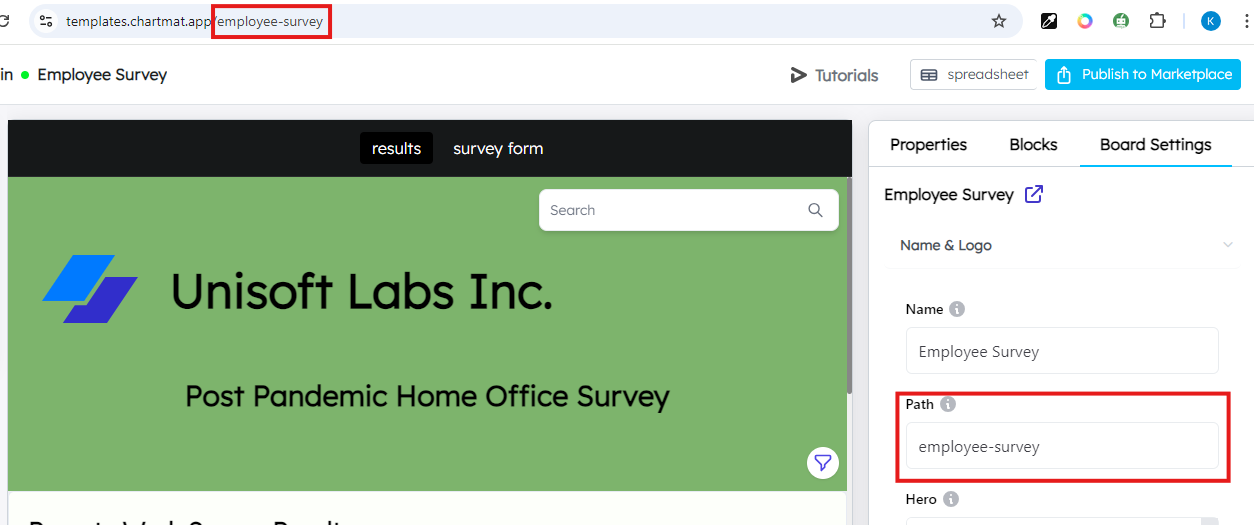
Path
This is the unique URL or identifier for your board. For example, the path might be something like test-data, which will form part of the URL when users access your board.
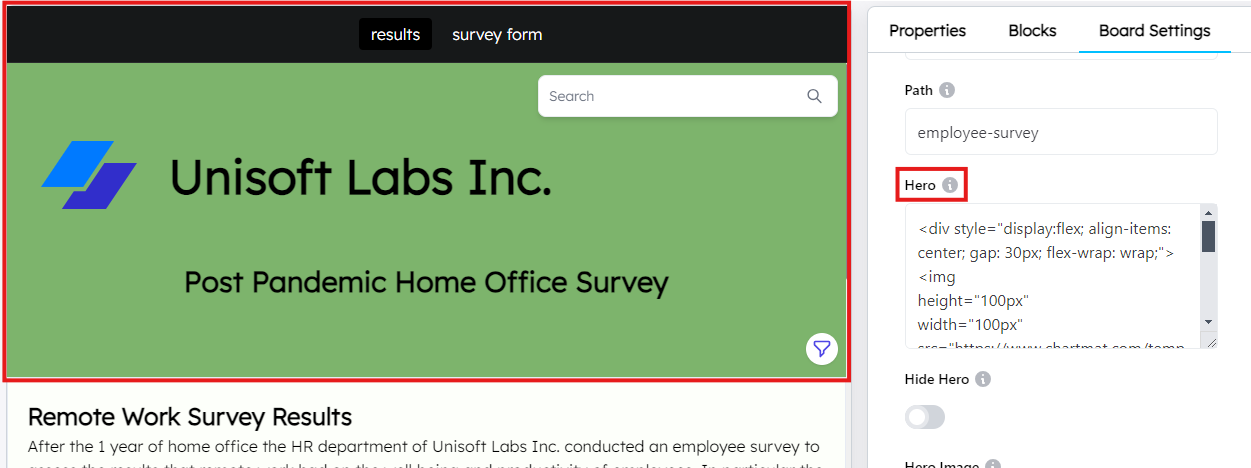
Hero
Add a compelling title or heading for the hero section of your board. This is typically a brief, eye-catching phrase that gives users an idea of what your board is about. The hero section is fully customizable with HTML code, allowing you to tailor it to your preferences and create a unique appearance.
Hide Hero
If you want to hide the hero section altogether, enable this option. It’s useful if you prefer to focus on the content of your board without a hero image or title.

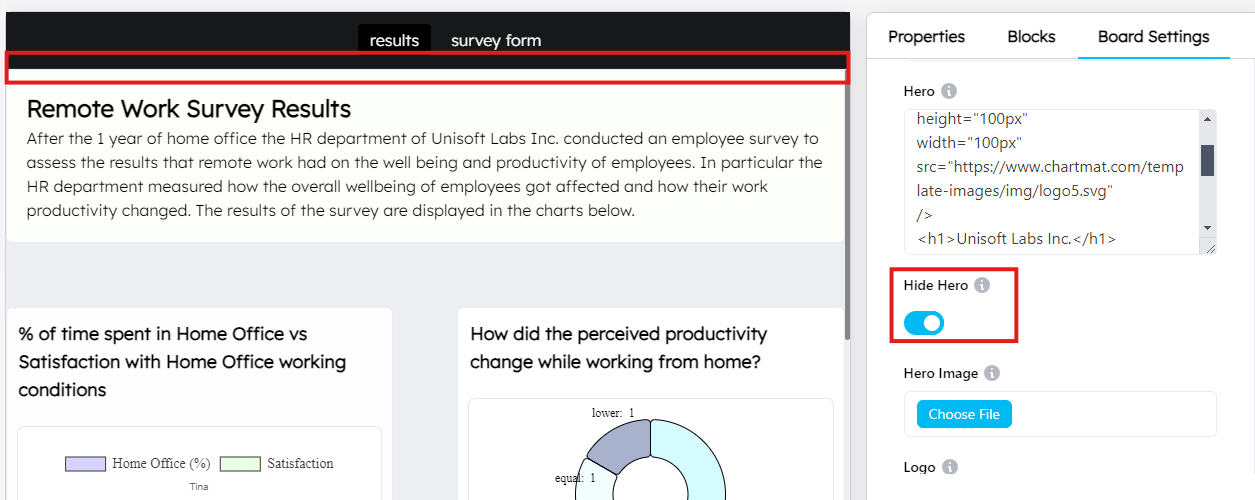
Hero Image
Upload a hero image that appears prominently at the top of your board. This image serves as the visual highlight and can be used to introduce the board’s theme. Use the Choose File button to upload your hero image.

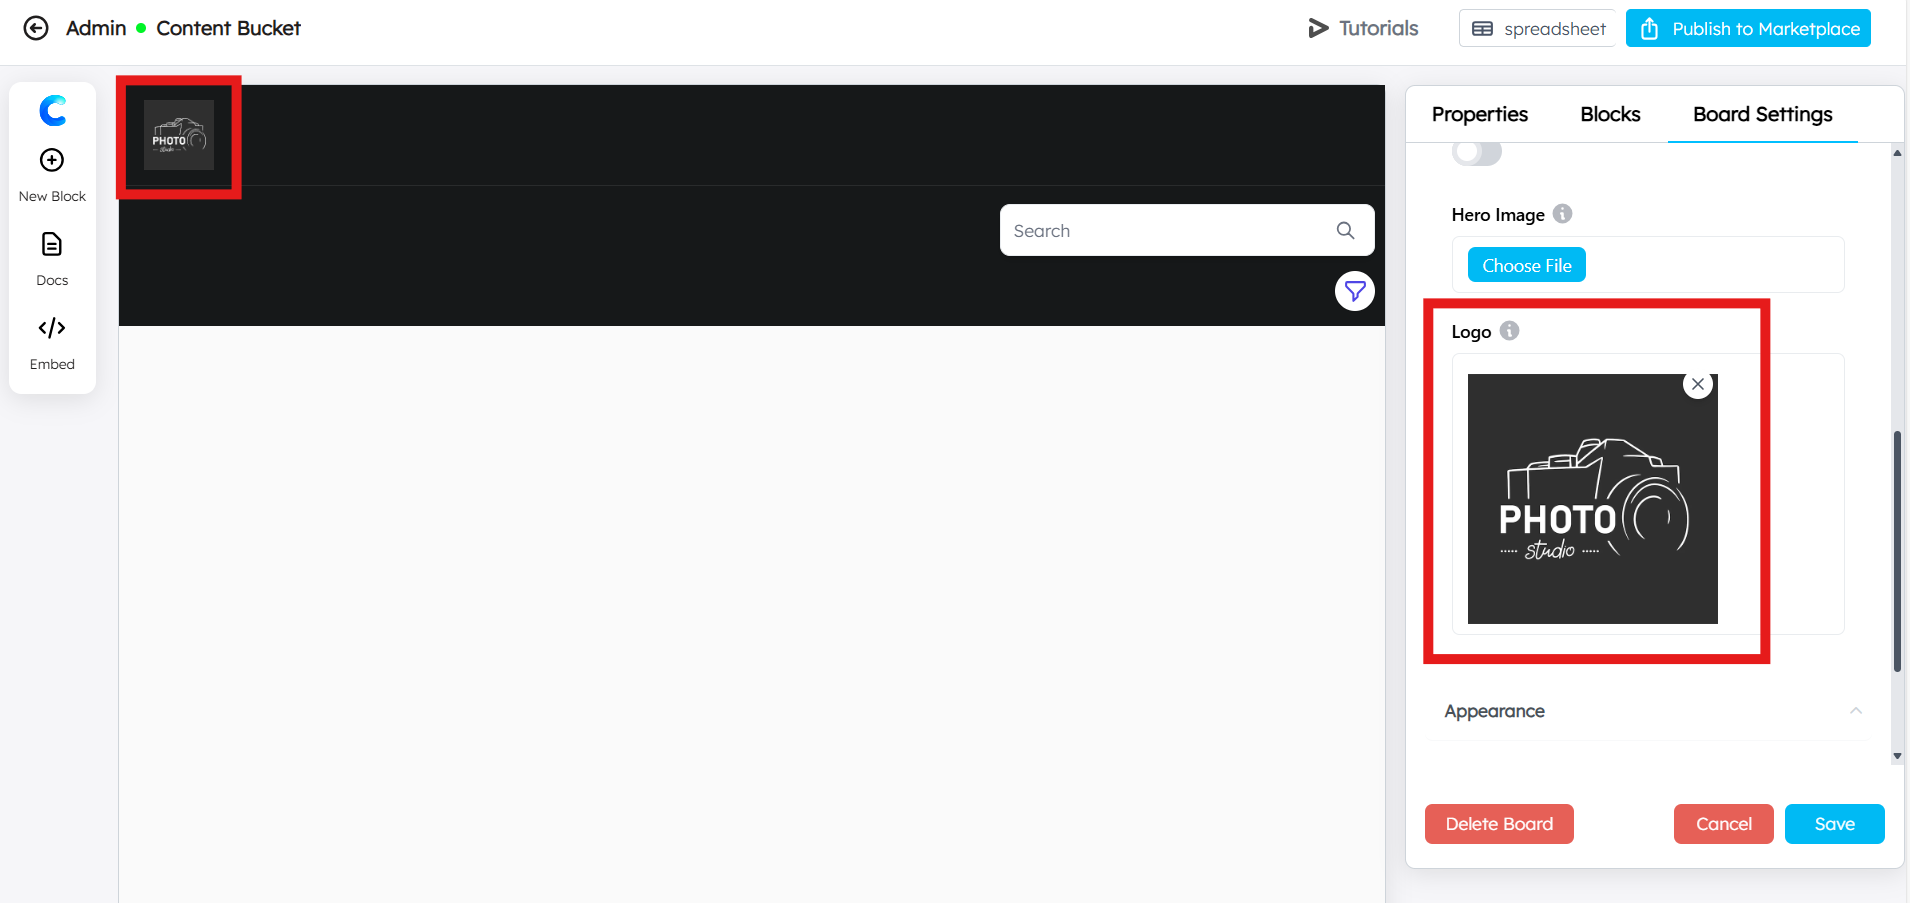
Logo
Upload a logo that will appear alongside your board, branding it with your company’s or project’s identity. Use the Choose File button to upload the logo image.