Building Your App in ChartApps
ChartApps offers two pathways to get your application up and running: Manual Building for granular control and AI Building for a streamlined, automated experience.
Method 1: Manual Building
Best for: Users who need precise data mapping and full control over the initial setup.
Phase 1: Initial Setup
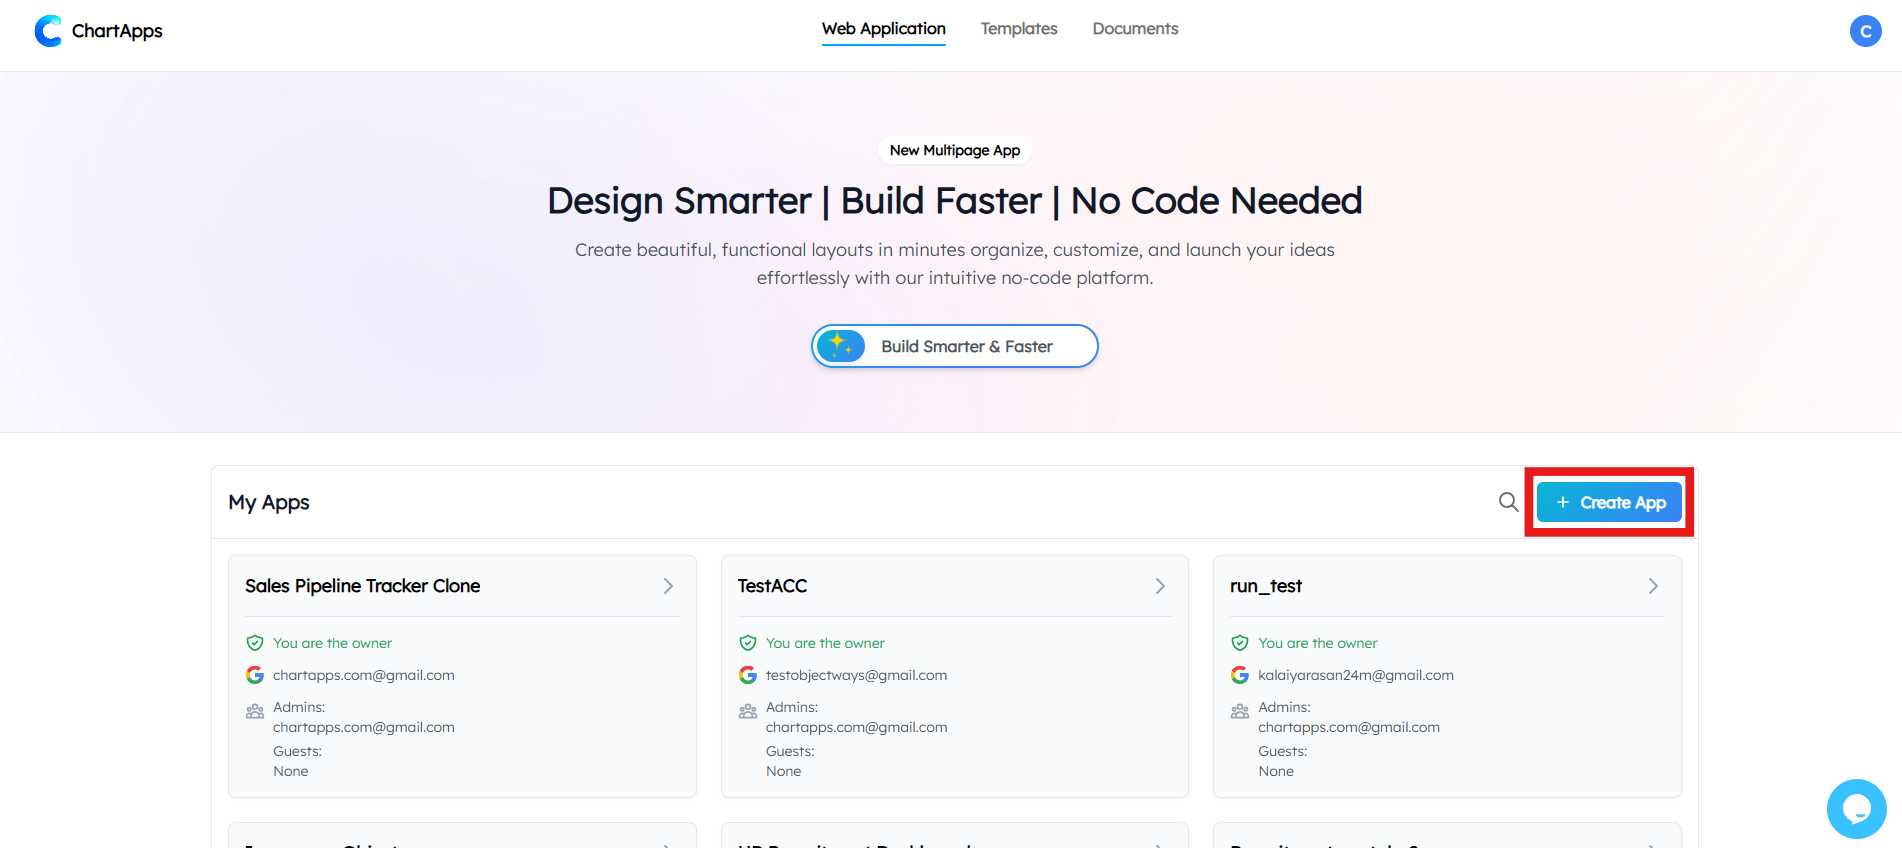
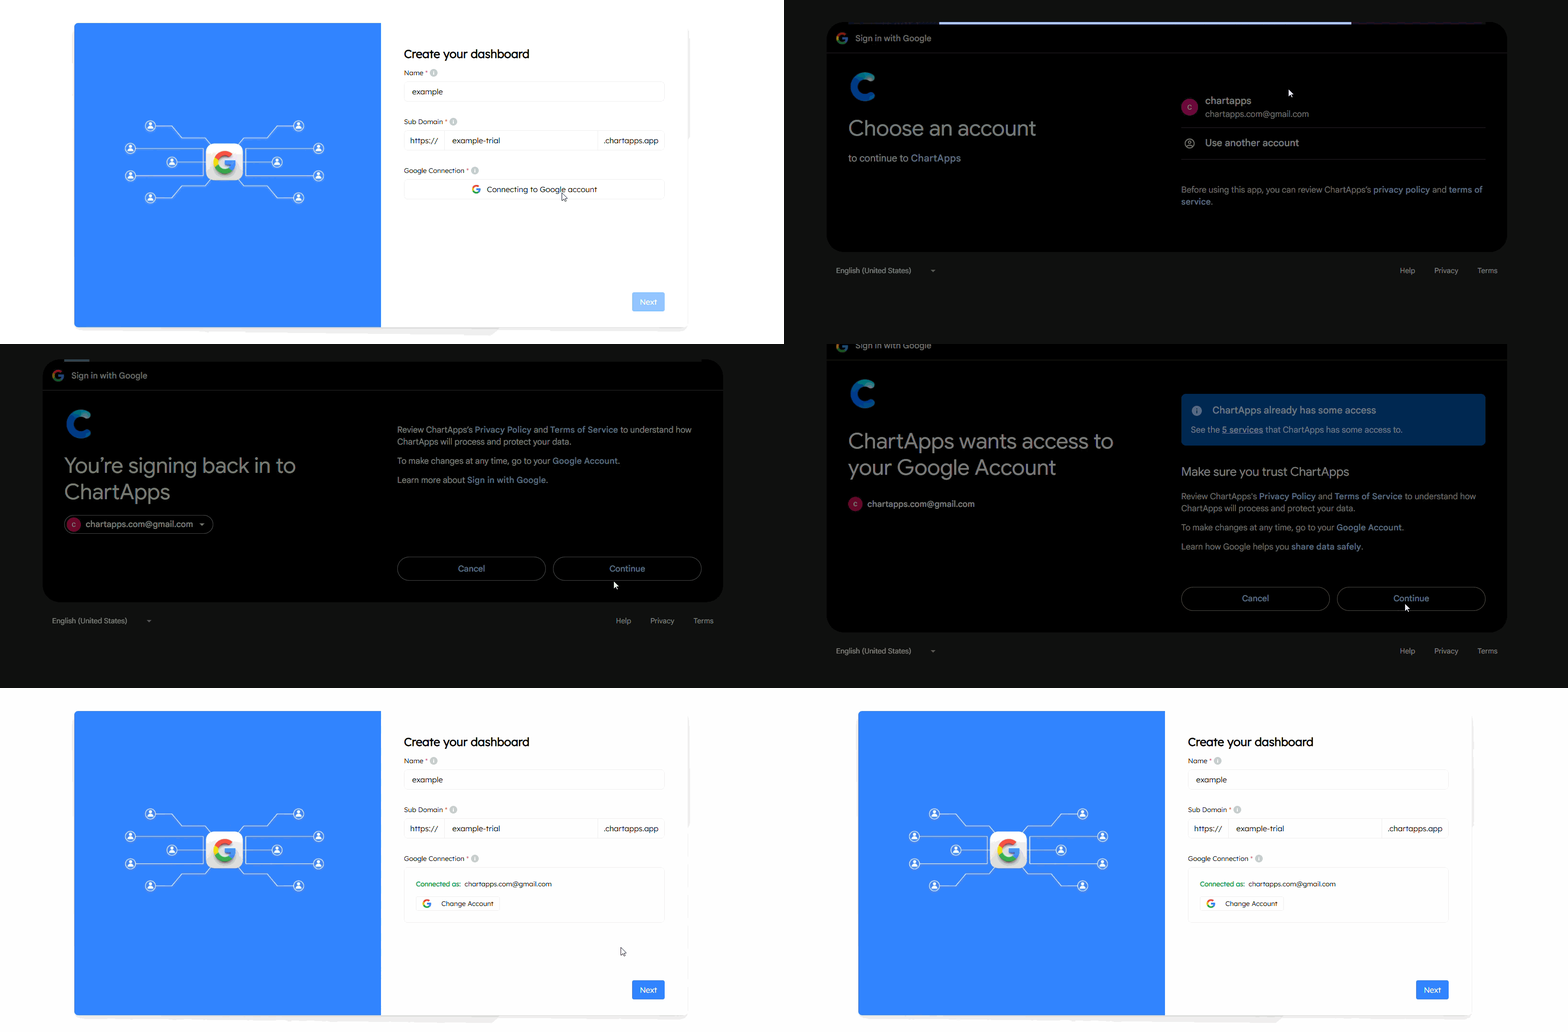
Start the Process: Click the Create App button on your main dashboard menu.
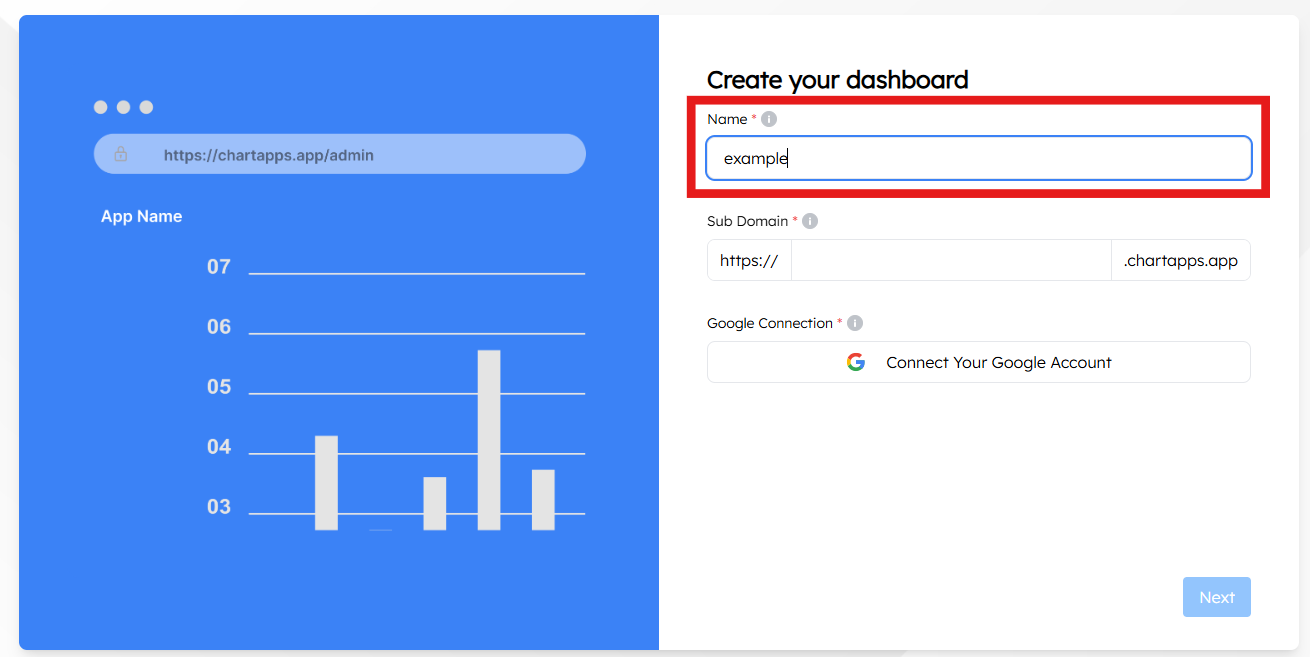
Define App Details:
Name: Enter a unique name for your application.
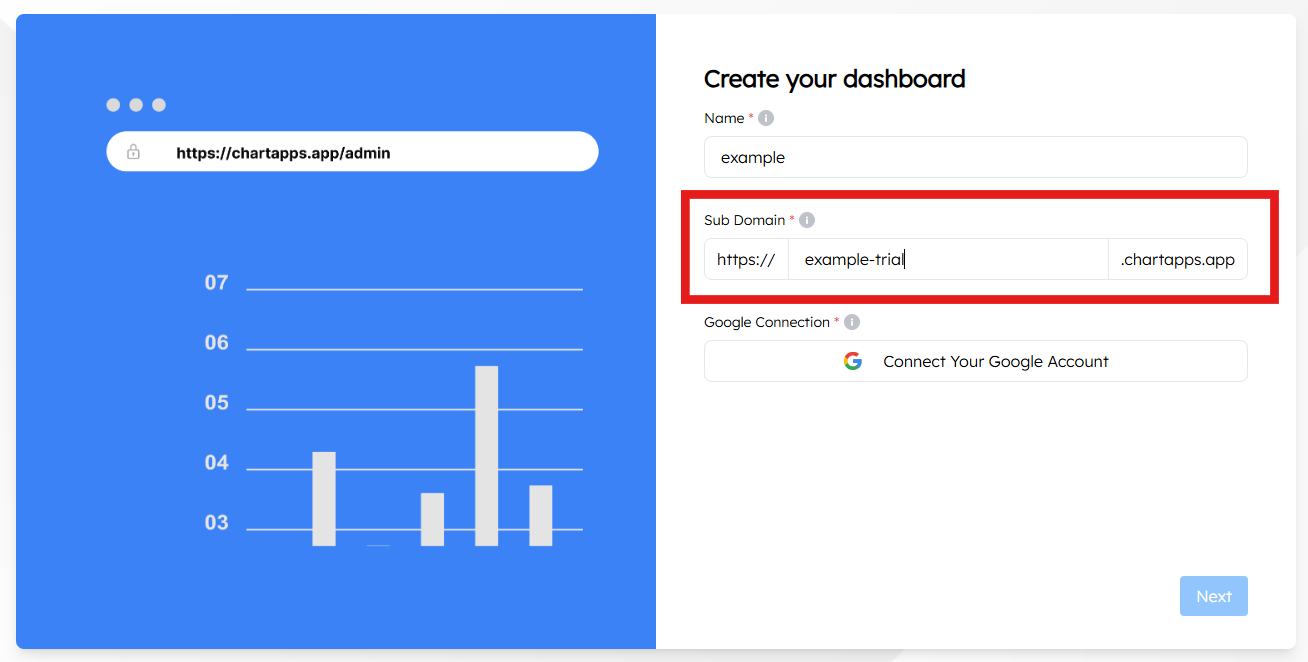
Subdomain: Choose a custom URL prefix (e.g., app-name.chartapps.com).
Connect Google Account: Select the Google account containing your data.
Note
💡 Important: Ensure you use the account where your primary Google Sheets are stored to enable seamless syncing.
Phase 2: Data Configuration
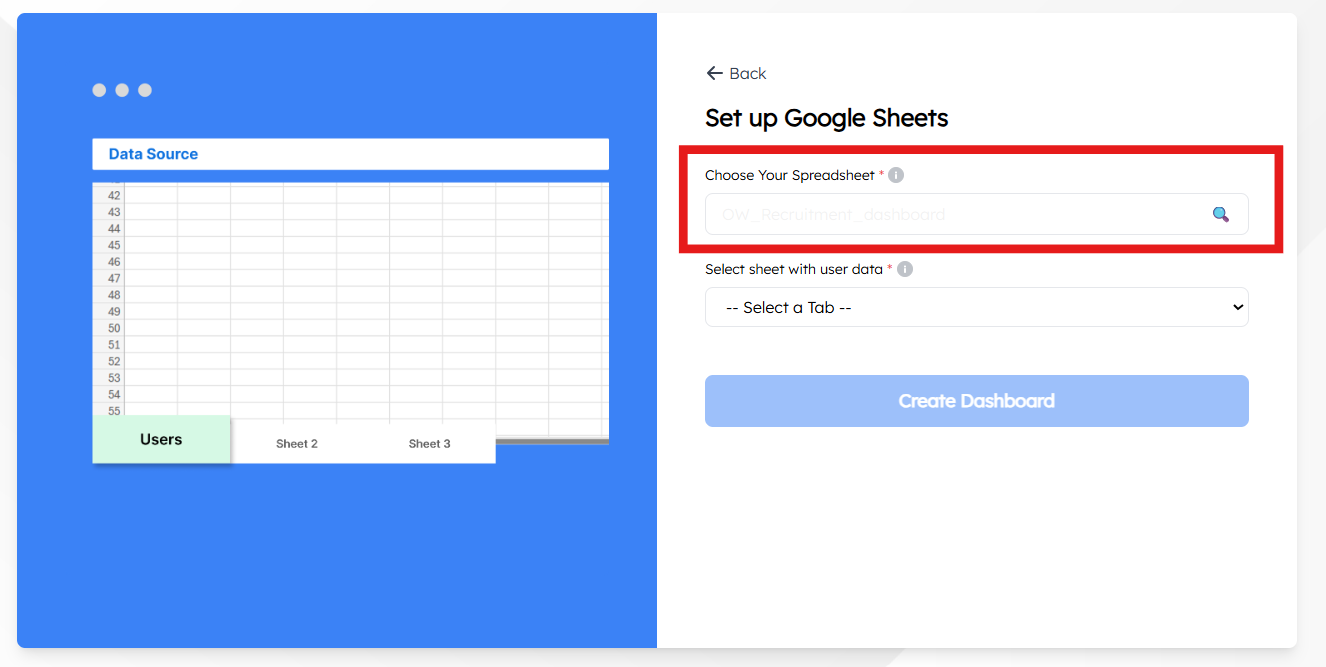
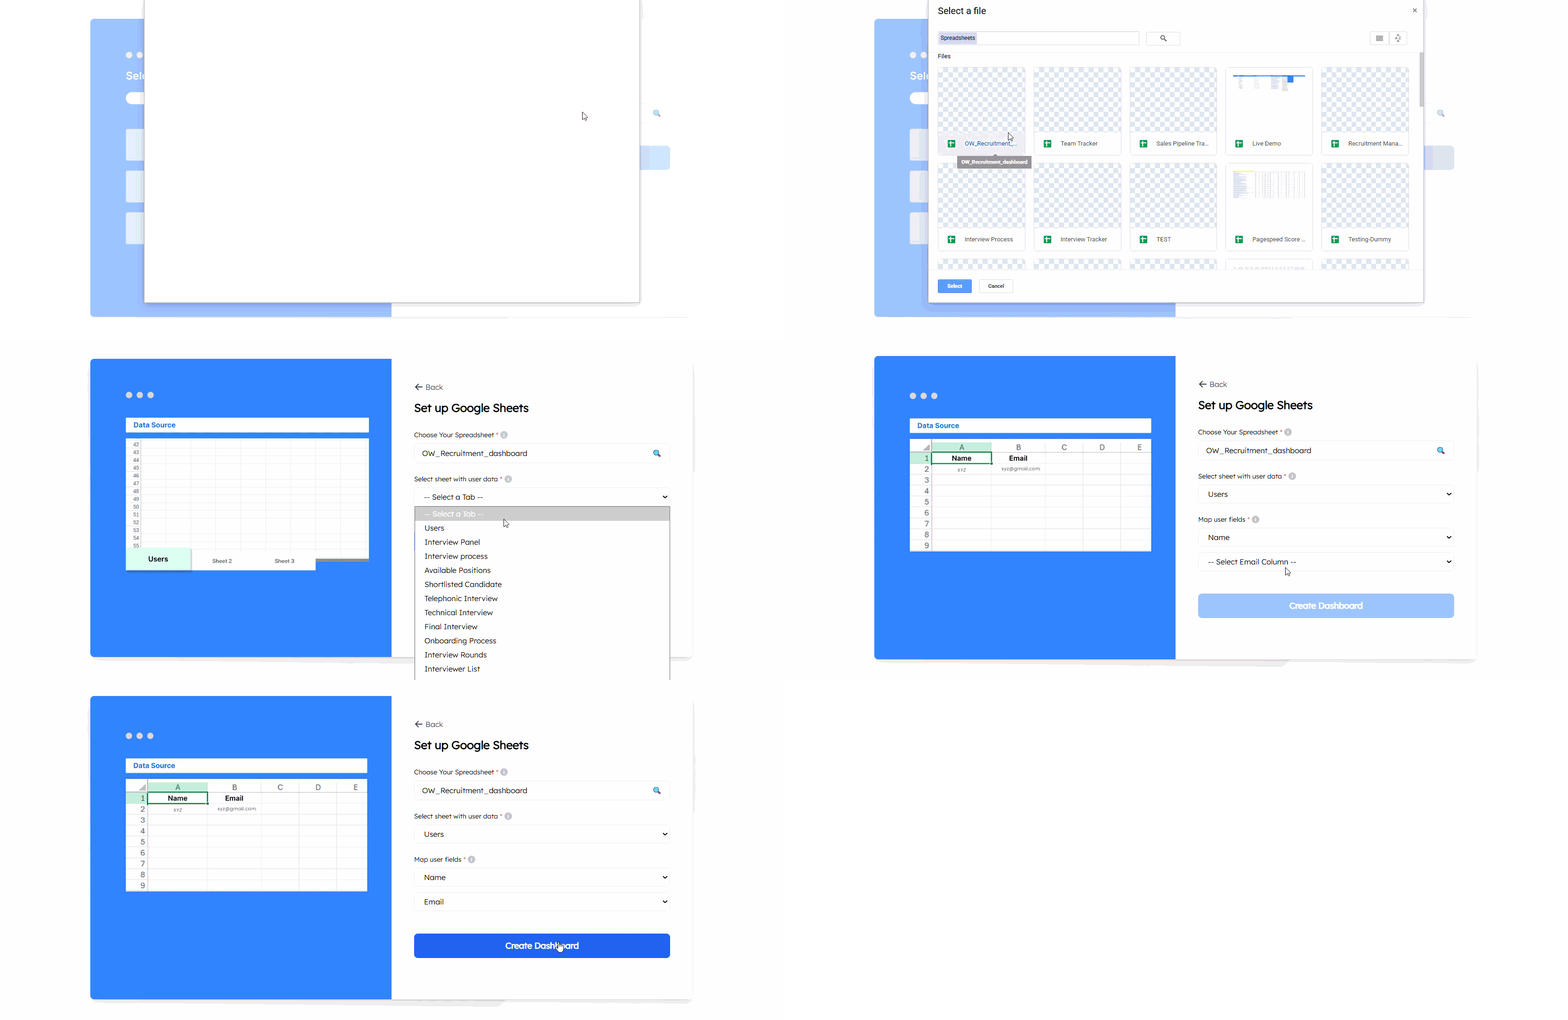
After clicking Next, link your specific spreadsheet assets:
Choose Your Spreadsheet: Select the Google Sheet file you want to use as your database.
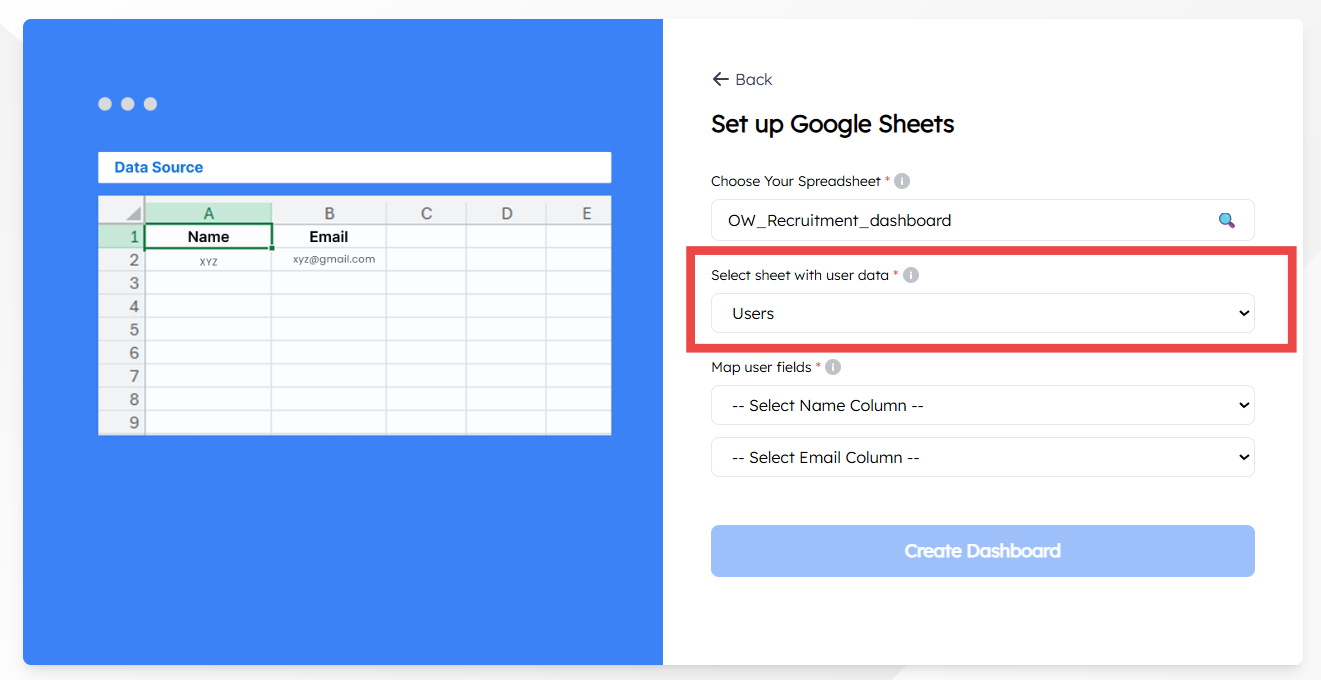
Select User Data Sheet: Choose the specific tab within your spreadsheet that contains your user list.
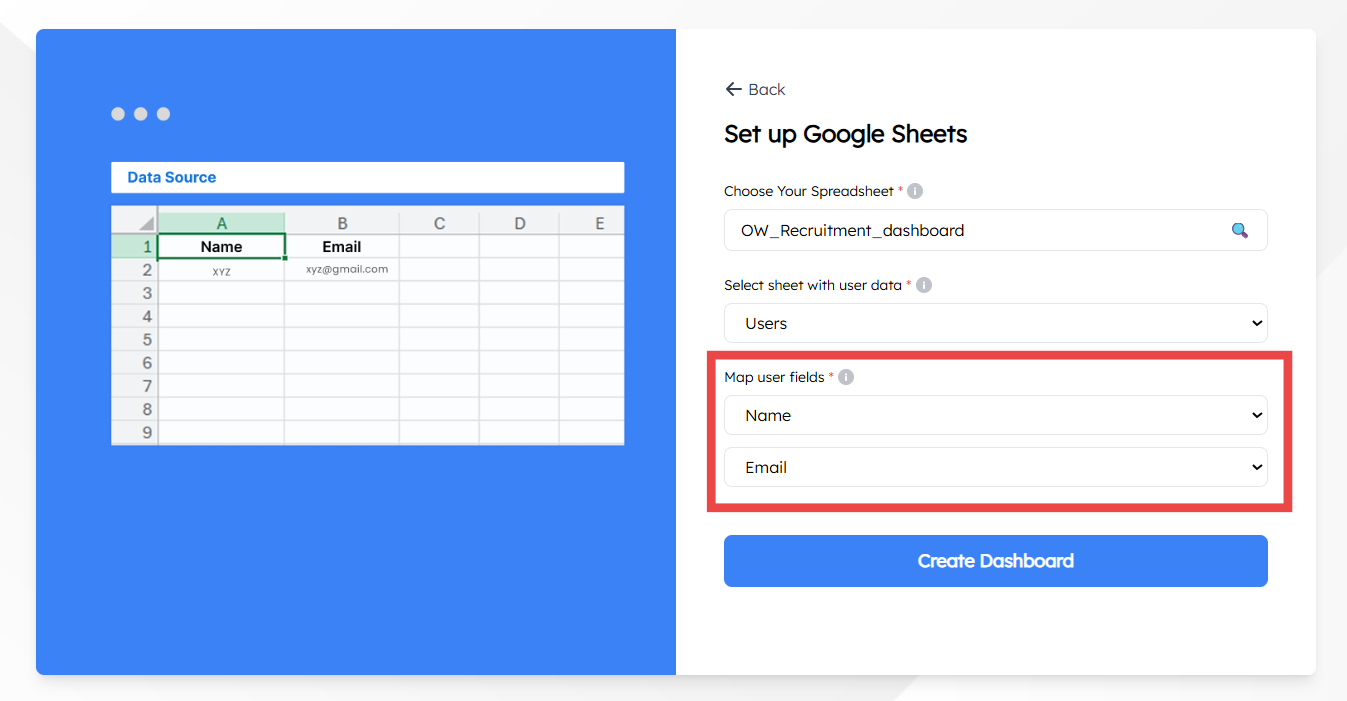
Map User Fields: Match your spreadsheet columns to the app requirements:
Field 1 (Name): Select the column containing user names (e.g., Column A).
Field 2 (Email): Select the column containing email addresses (e.g., Column B).
Phase 3: Finalize
Launch: Click the Create Dashboard button. Your app environment will be generated instantly.
Method 2: AI-Powered Building
Best for: Users who want to skip manual configuration by using natural language descriptions.
Phase 1: Initial Setup
Initiate AI Build: Click the AI Build button on your dashboard.
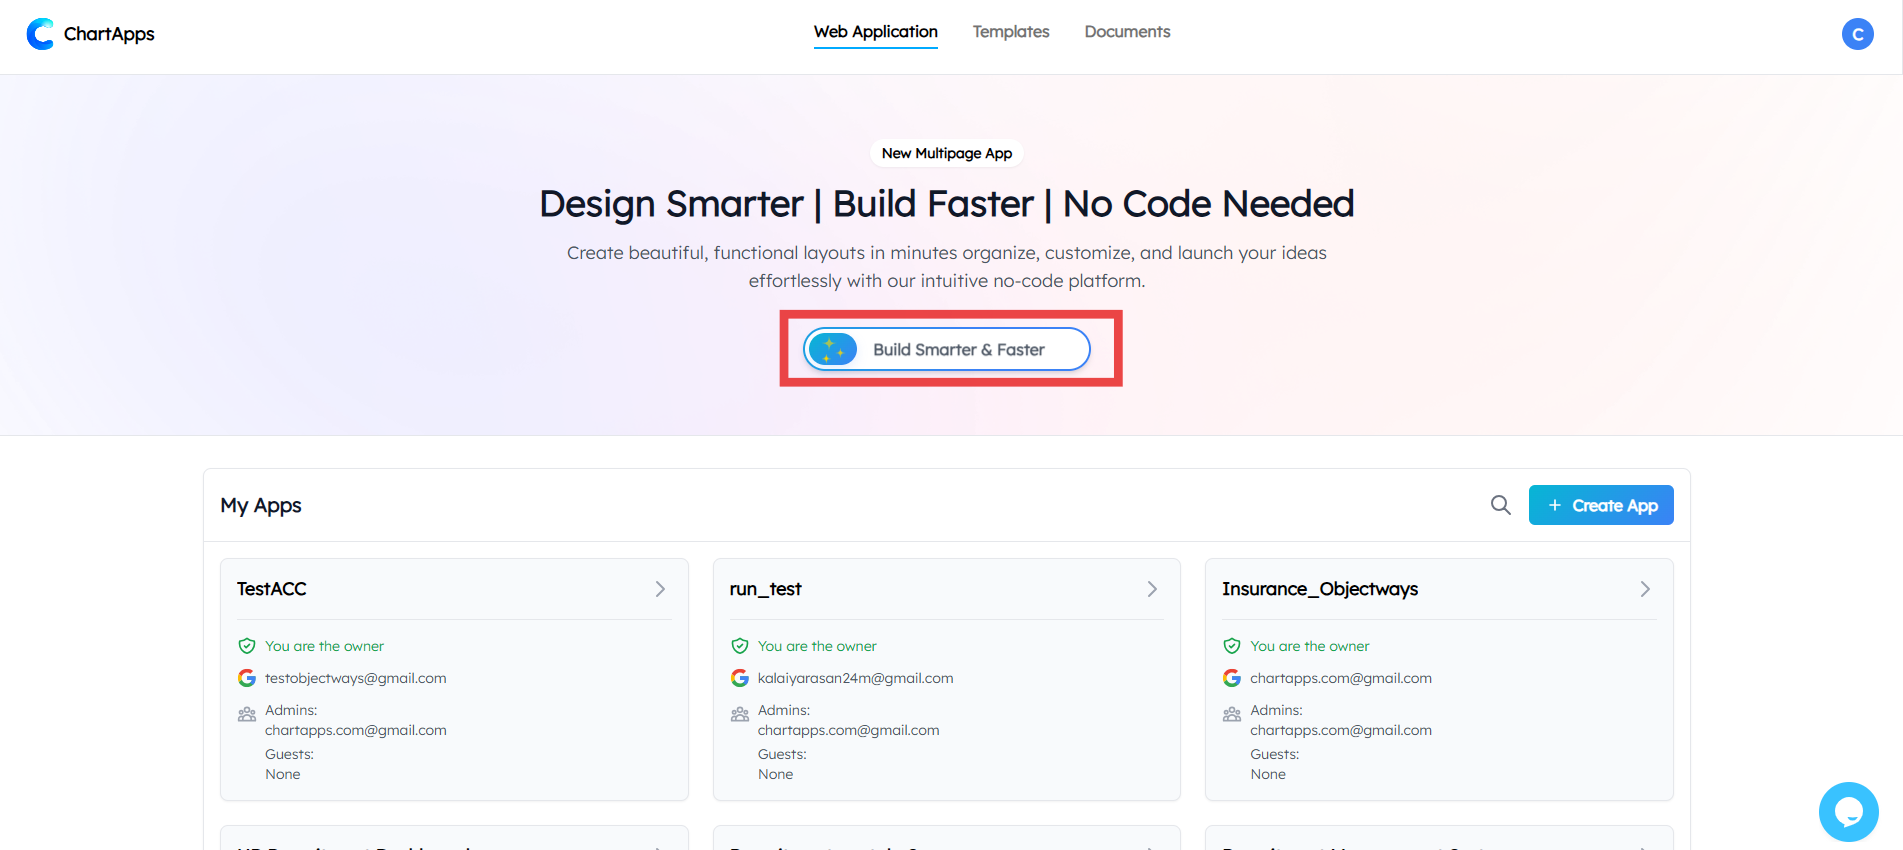
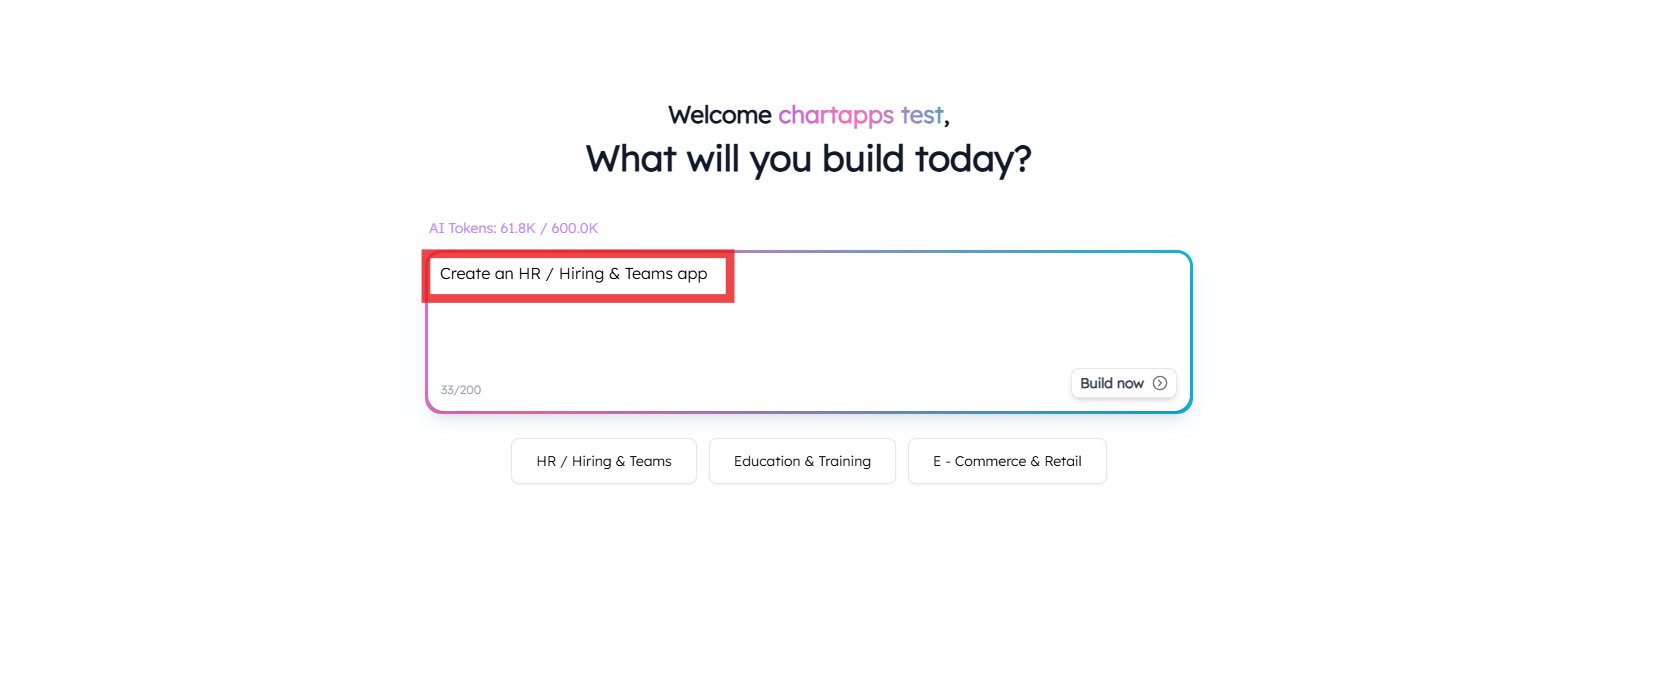
The Prompt: In the text field, enter a detailed description of your app’s purpose (e.g., “Create a real estate listing tracker with price filters”).
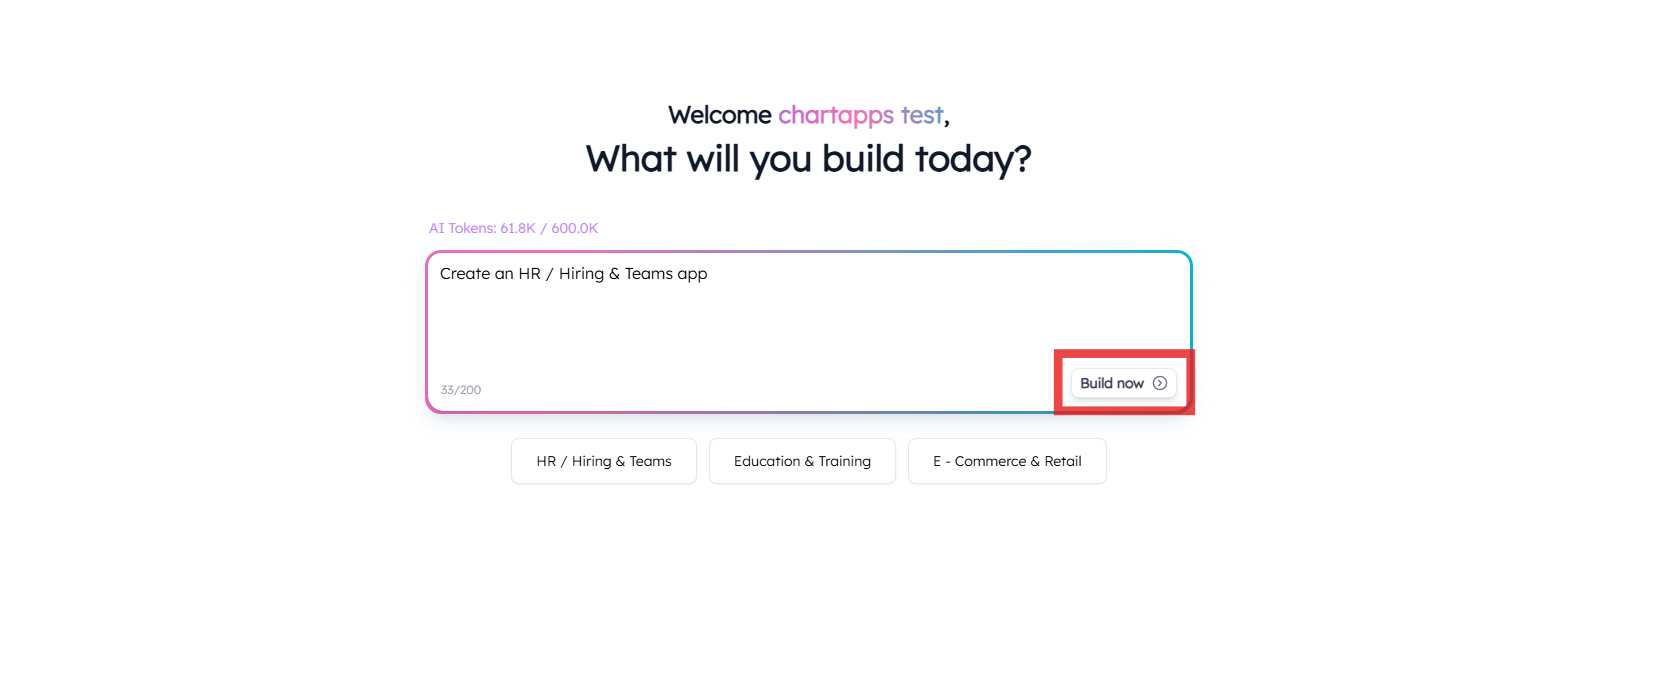
Start: Click Build Now to let the AI architect in your app structure.
Phase 2: Data Configuration
Once the AI has drafted your app, link your live data in four quick steps:
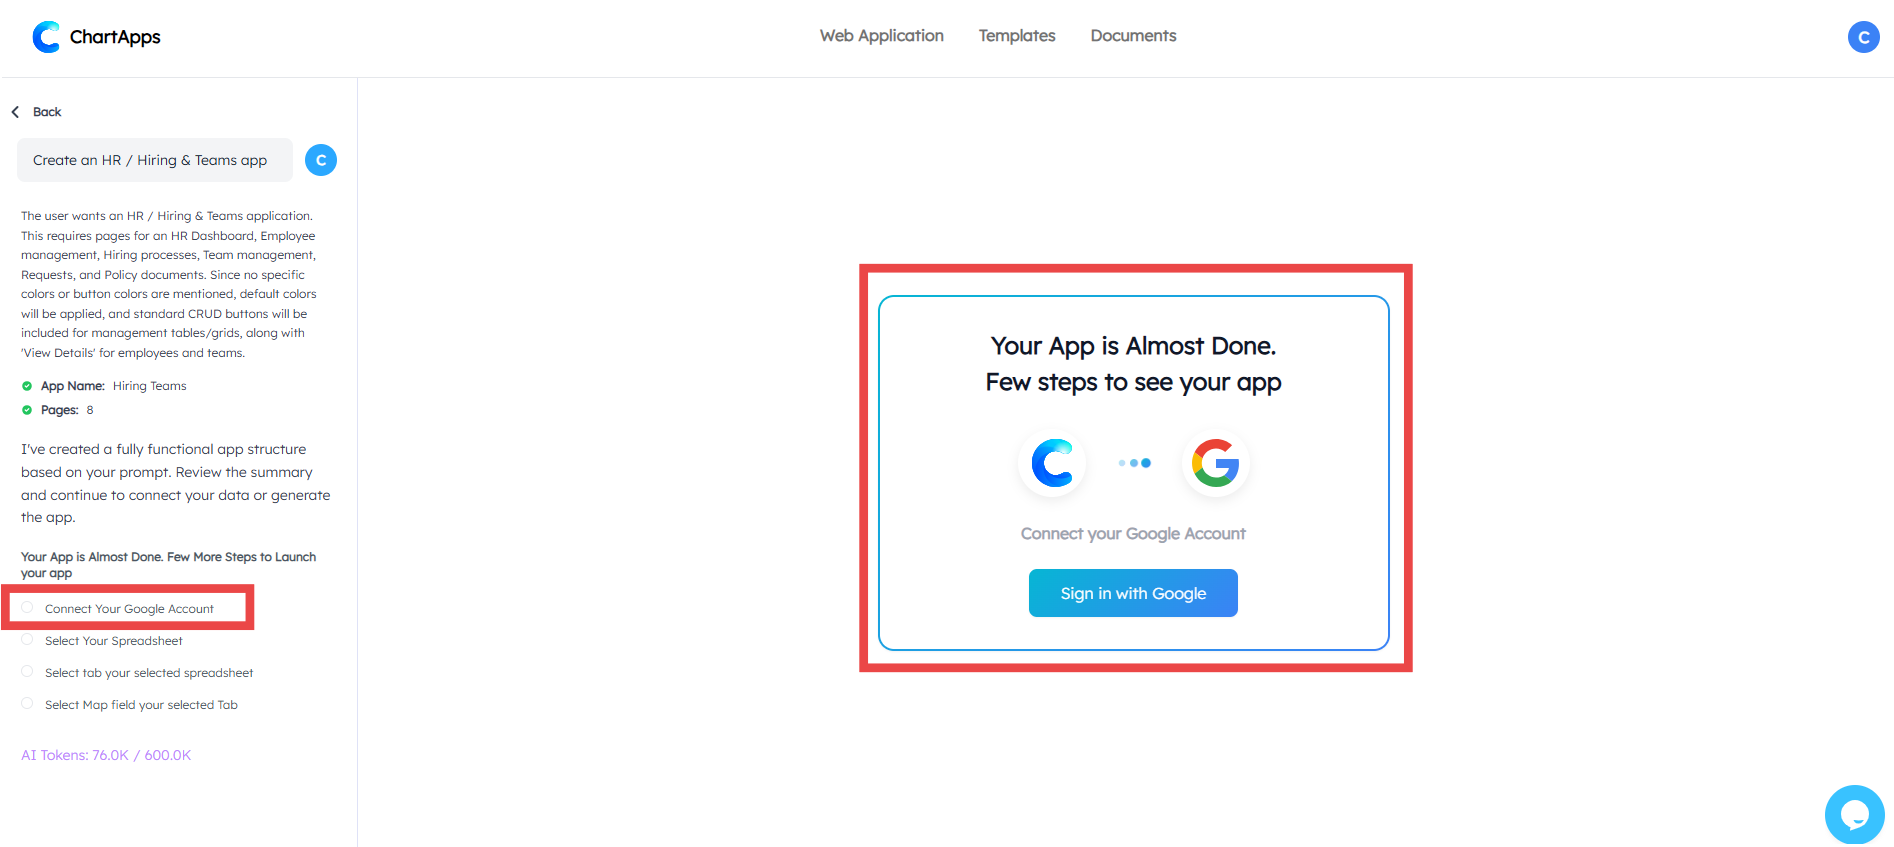
Authorize Google: Click Connect Google Account to link your workspace.
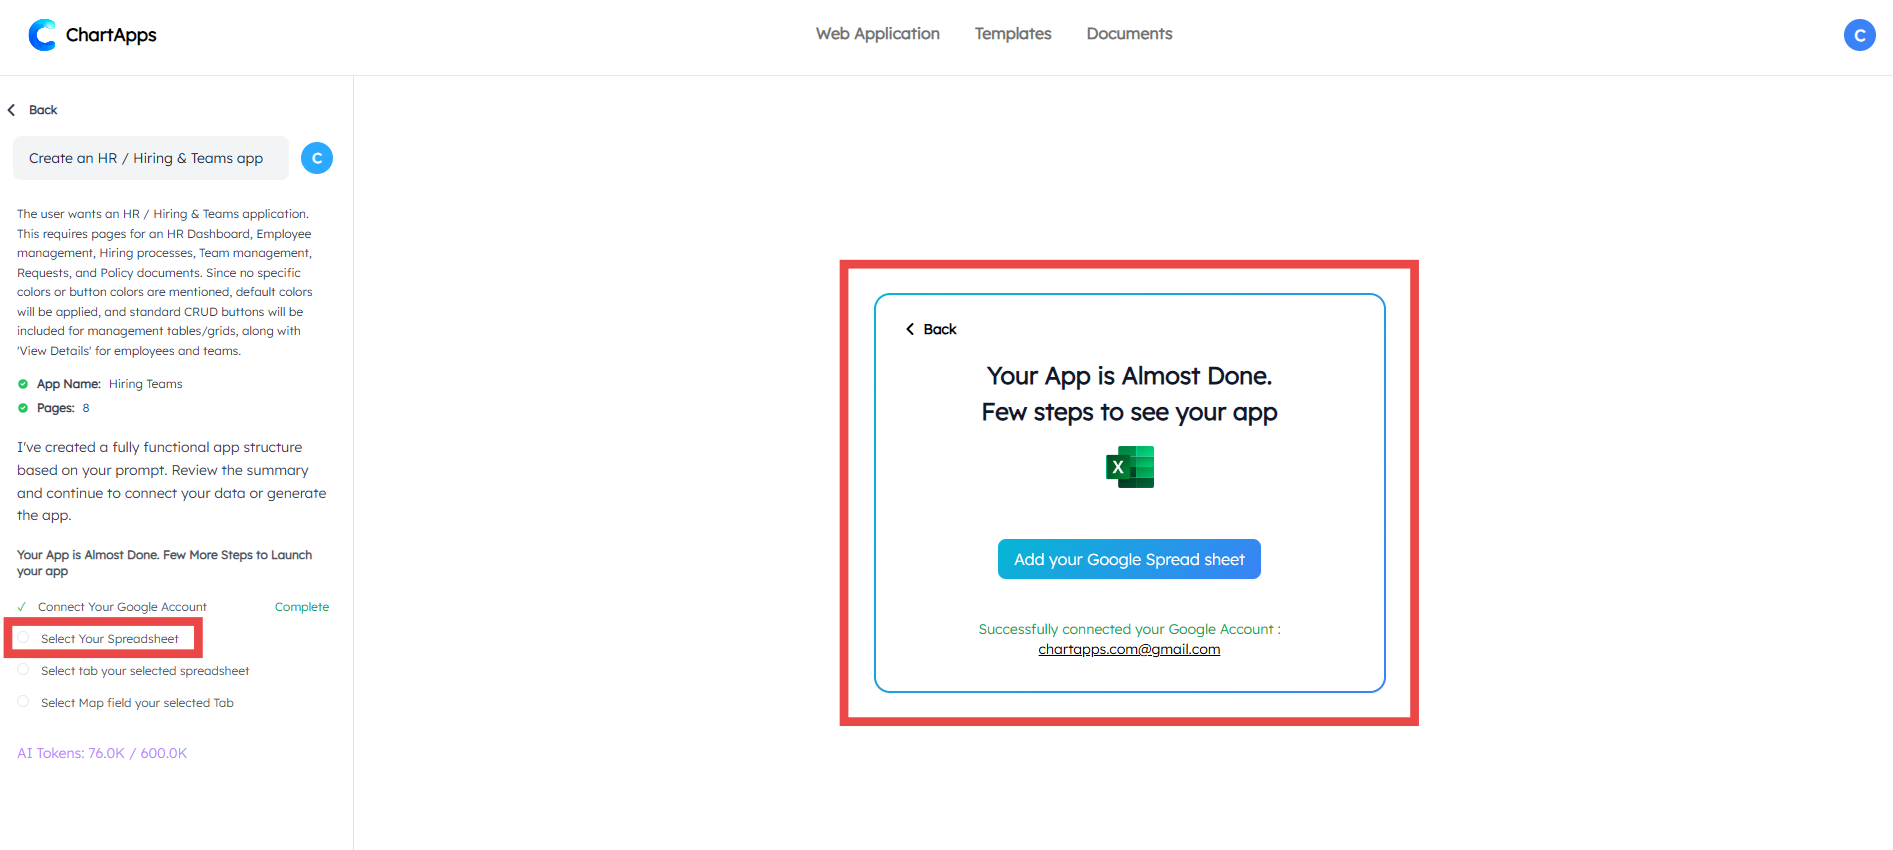
Select Spreadsheet: Choose the Google Sheet file that holds your data.
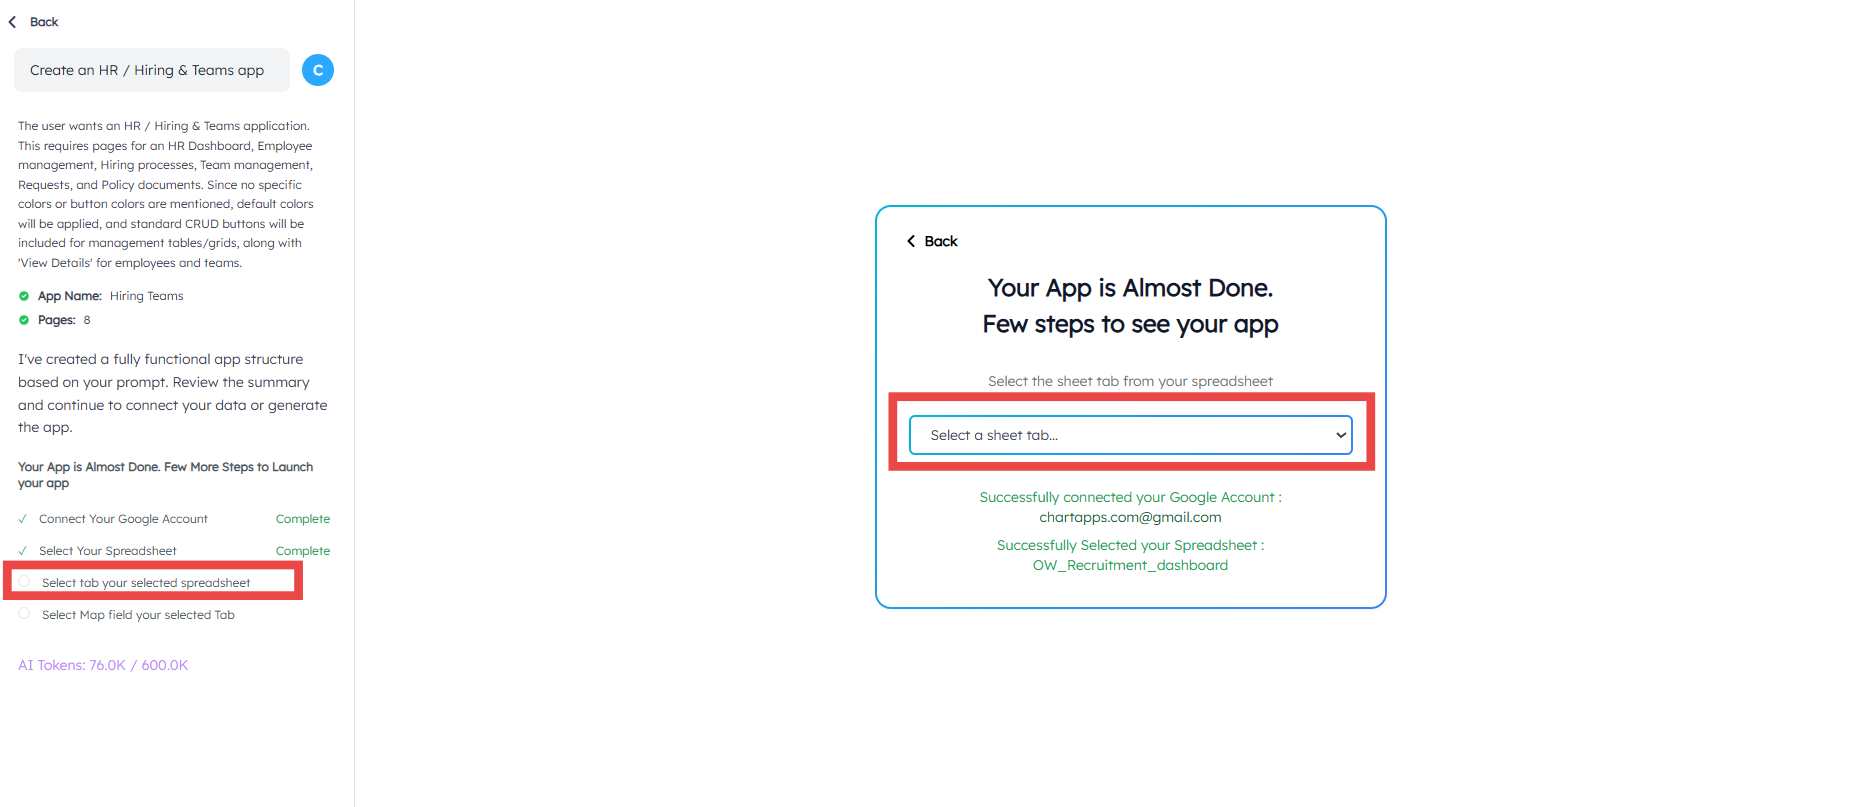
Select Tab: Choose the specific page within your spreadsheet that contains your user list.
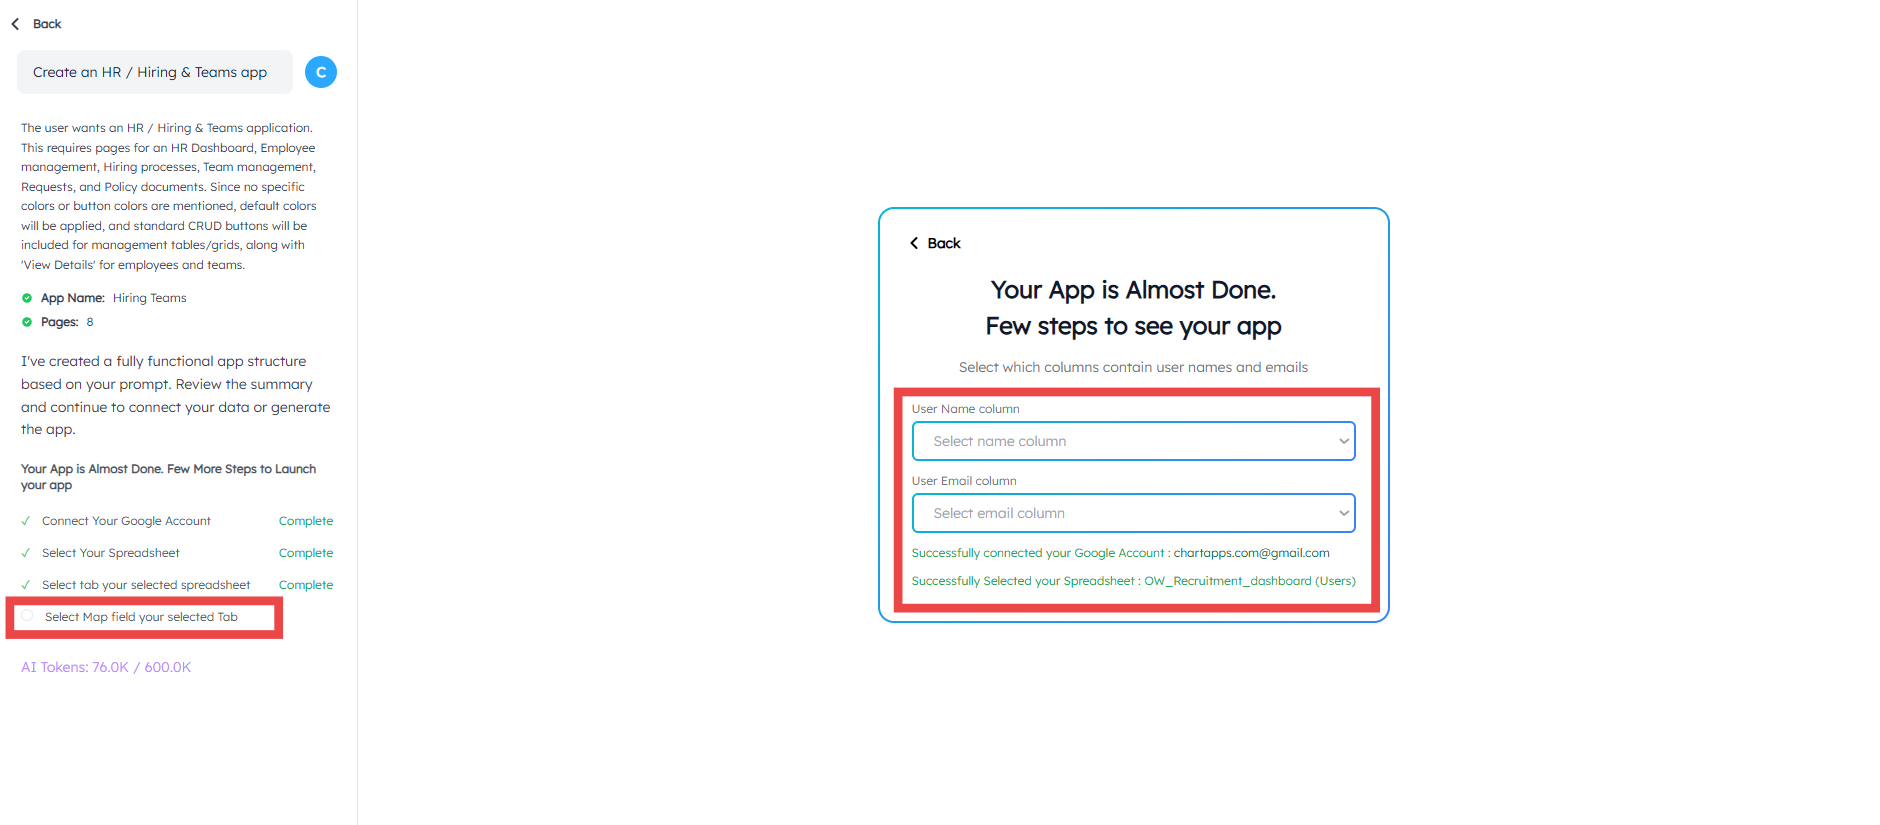
Map User Fields: Match your spreadsheet columns to the app requirements:
Field 1 (Name): Select the column for user names.
Field 2 (Email): Select the column for email addresses.
Phase 3: Finalize
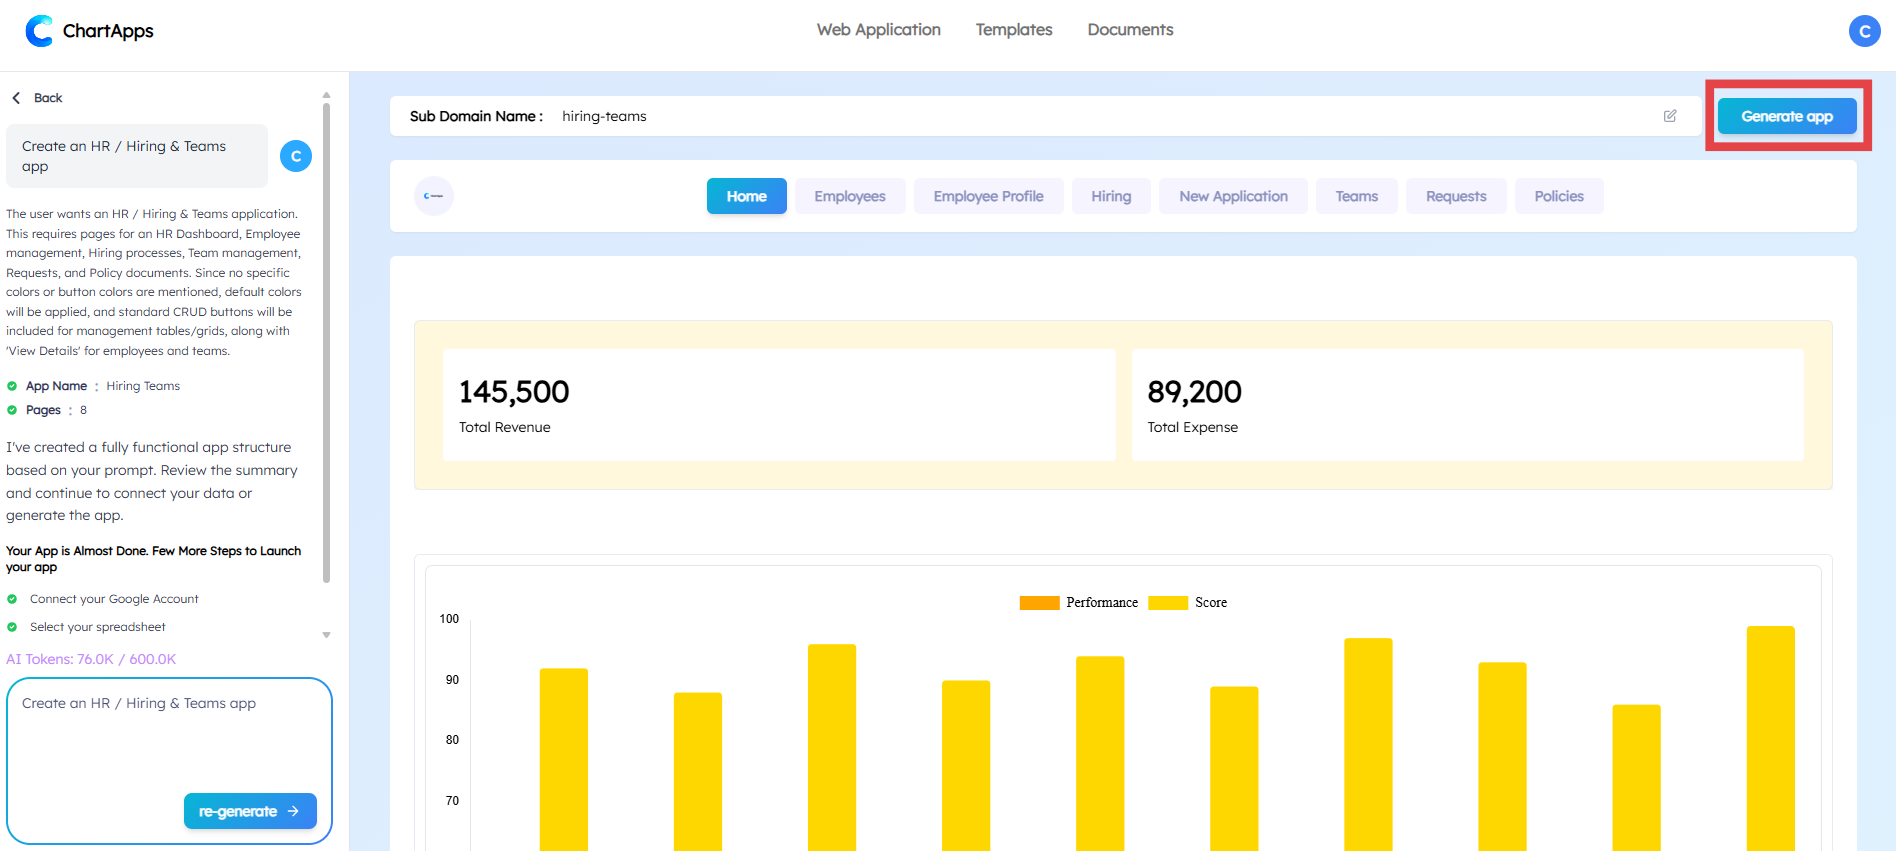
Review Preview: Test the buttons and layout in the Live Preview to ensure it meets your needs.
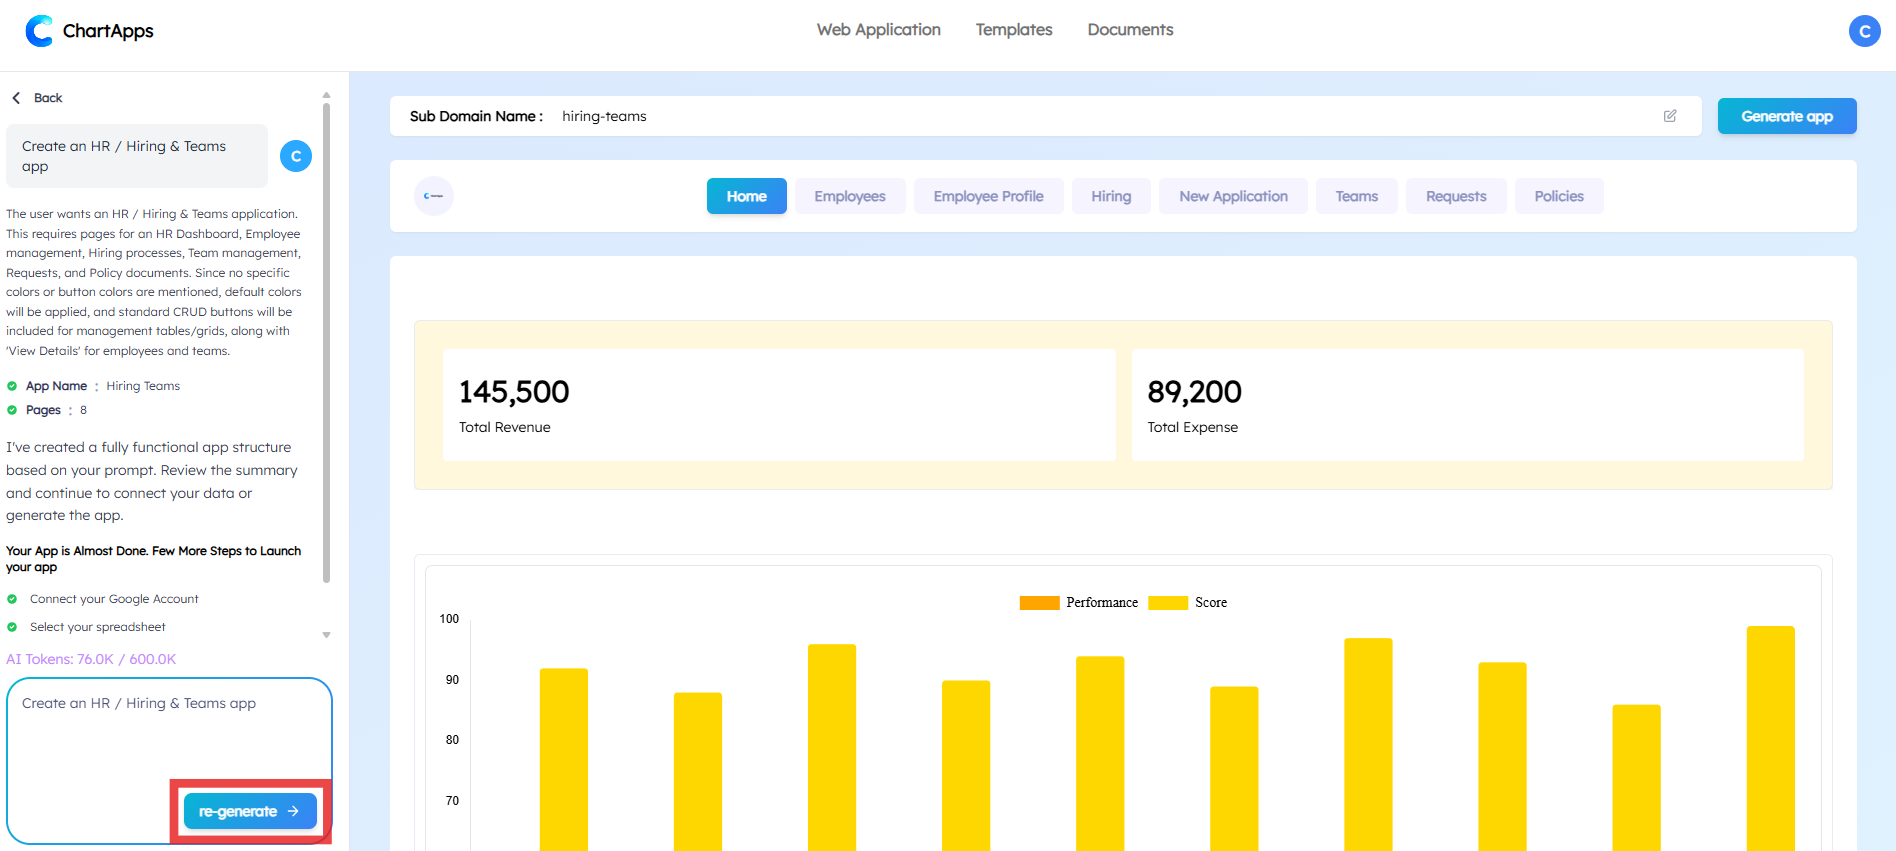
Refine (Optional): If it’s not quite right, click Re-generate to provide new instructions.
Customize Subdomain: Edit your Subdomain at the top of the preview screen to create a shareable URL.
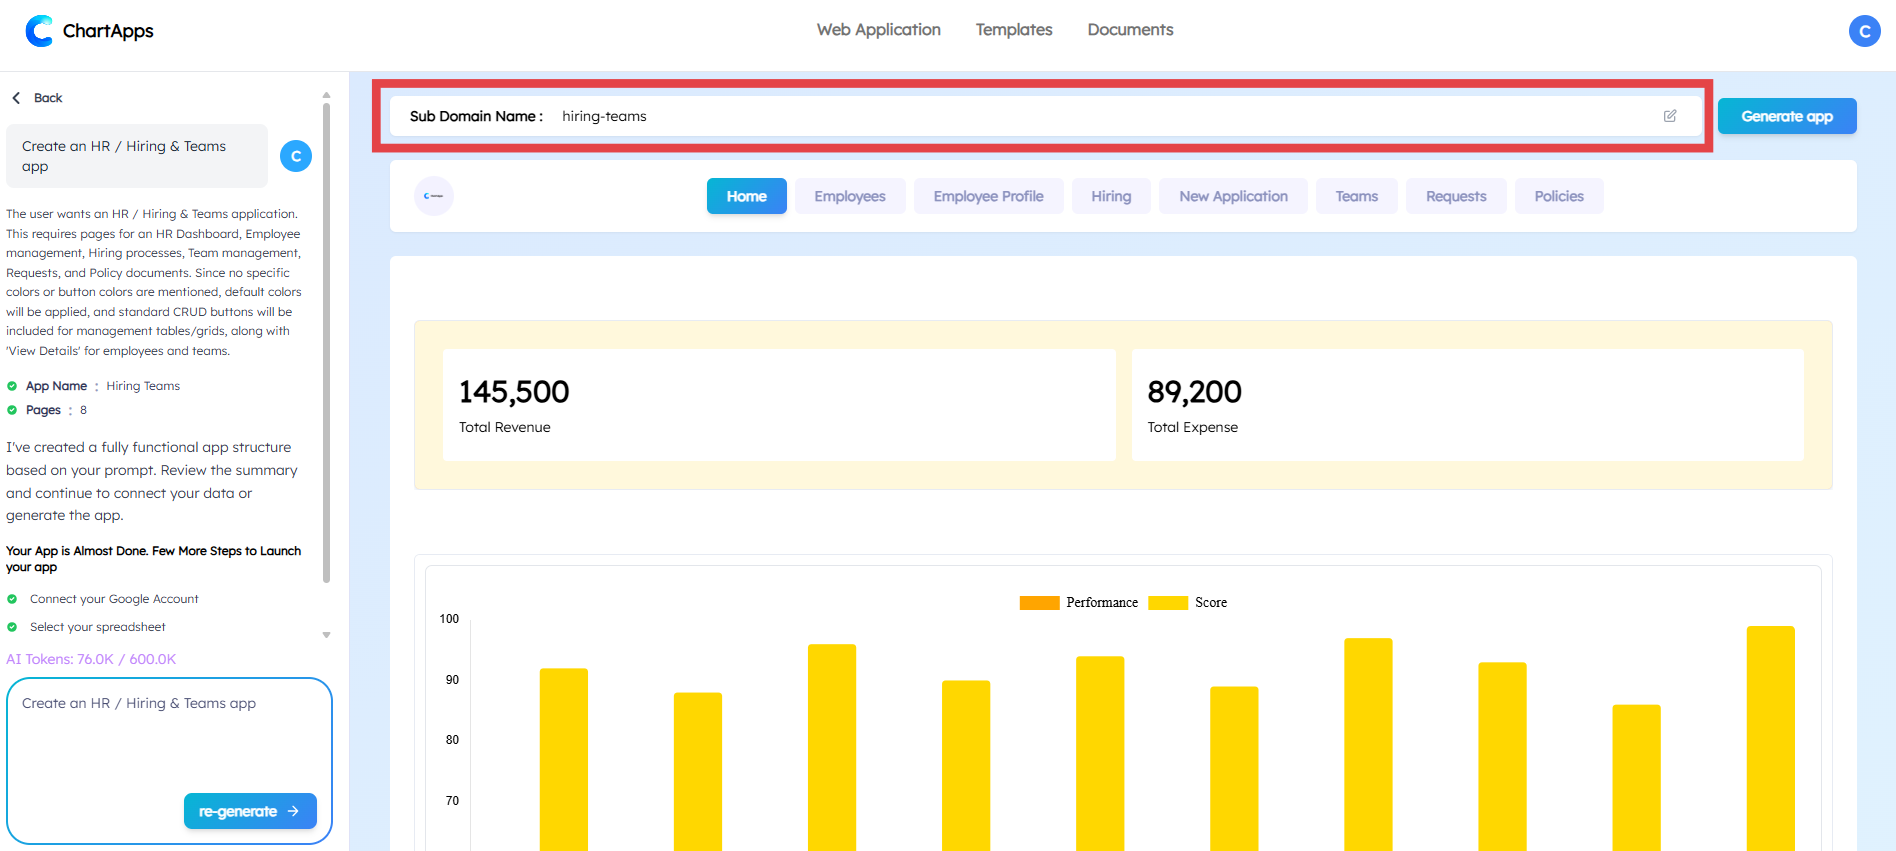
Launch: Click Generate App to publish your application.